
If you’ve already started your paper planner research you’re going to find some super intense camps. Folks arguing Erin Condren vs. Passion vs. BuJo… it can actually get quite intense and be pretty intimidating. And don’t even get me started on Pinterest boards. People turn their planners into literal pieces of ARTWORK, and it can very overwhelming.
If you have all those artistic bones in your body and decorating your planner every week is a form of meditation for you, than by all means go for it. But if you’re just an average Jane like me looking to make sense from the chaos of your life… I am here to help. Here are five simple steps to getting a paper planner, actually using it, and maintaining it!
1. What do you need a planner for anyway?
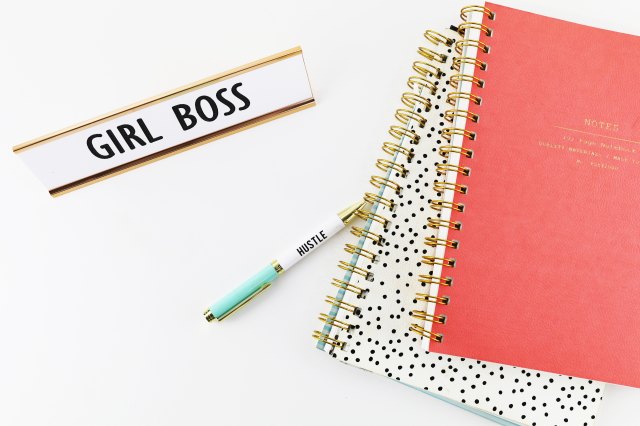
First step should be to really think about why you need a planner. Are you looking to manage your side hustle better? Do you have kids and need to see their days side by side? Do you own your own business? These things matter when picking out a planner.
If you’re looking to methodically knock out new goals, Passion Planner is probably your bet. If you’re a teacher, one of Erin Condren’s lesson planners is probably for you. Before you do any research think about your own needs. Maybe even think of the sections that would make your life easier.
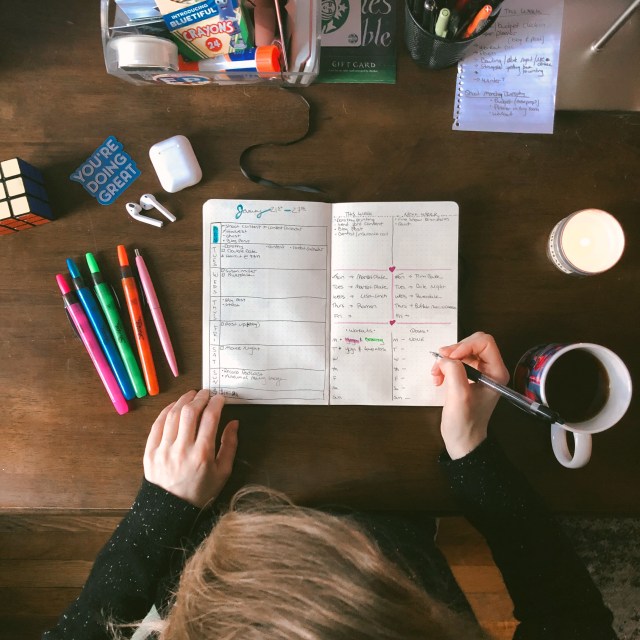
For me, I prefer having a daily task list, rather than specific times carved out throughout the day. But you may be different. And if you’re feeling really frisky, try a Bullet Journal (or BuJo) which I started doing this year for the first time. Using a BuJo essentially means you are using dotted graph paper to create your own templates from scratch. Every week I draw my schedule. So far, I’ve been enjoying it. If a format doesn’t work for me, I just change it the following week!
I used Passion Planner for many years but finally felt strong enough to go it on my own with BuJo, and create the sections that work for me. After all, there is no wrong way to plan, other than not planning at all. (Oh wow, something actually quotable coming from the blog, yay!)
2. Start With the Facts
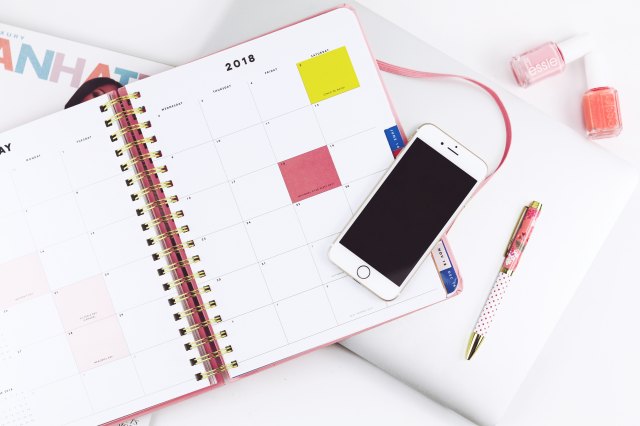
Just like solving a crime (at least I think that’s how you do it), start with your facts when planning for the first time. You can get crazy with colors and pens and everything later. When do you go to work? Do you need to write your shifts in? When is your doctor’s appointment? Fill in the basic things you know today. Depending on what planner you get you may need to fill in a monthly or yearly calendar, fill it in with what you know. A vacation, birthdays etc. Then start with your first week, nailing all the easy stuff.
As you’re doing this you’ll realize how much random stuff you store in your brain! Storing that stuff takes up brain power. Write it all down and you will feel the weight being lifted. (Such an awesome feeling!) You’ll have the focus to do other things and you no longer have to keep track of 15 slips of random paper or notebooks. All your lists and to-dos are now in one place. Hooray!
3. Fill In the Rest as it Comes
Don’t get carried away filling out the planner right away. I know it looks pretty bare upfront, but you will fill it over time. You’ll have bills to pay, new friends to meet, old friends to call. All of these things will come up as they always do, write them down then.
I remember when I first started trying my Passion Planner, I’d scramble to fill up my weeks with goal oriented items and to-dos. Then the days would come and I’d realize how much I had misjudged and overwhelmed myself. Let your days and weeks take shape. You can certainly nudge them along, but don’t get crazy.
4. Use Your Planner as Your Main Source of Information
This may feel off at first, especially as so many of us maintain calendars online with our e-mails, but you gotta trust me and trust that planner. If your girlfriend sends you an invite on Gmail for a girls’ night, write it down in the planner, too.
If you are doing a BuJo like me, where you don’t have weeks ready to go in advance, sit down and do a calendar review at the beginning of each week. I go through my Google calendar and write down every event there into my planner. I transfer everything. When they match, I’m done! It allows me to carve out my side hustle work around my regular day job and social commitments.
5. Make Awful Mistakes
I know it sounds corny but go into planning with an open mind. It is going to take time to come to a rhythm that works for you. Planning is different for everyone, and while you can pin inspiration all day long, at the end of it, you’re still responsible for the methods you select and making sure they work for you.
Do your research but also always go back to number one on this list: What do you need the planner for anyway? Keep answering that question with how you keep it. If you forget to write something down – learning experience! If you’re messy – who cares? You don’t need to share it with anyone but yourself. And, if you’re like me, a paper planner will help you with your handwriting. Be okay making the mistakes and find your own rhythm.
I hope these steps help you to feel confident in starting your journey with paper planners. Let me know if it was helpful, and what else you’d like to see in the future as it relates to goal setting and paper planners. I have more to share!
